
Growing cannabis can feel overwhelming at first, especially for beginners who are unsure what to expect at each stage. From germinating seeds to harvesting mature plants, the process requires patience, attention, and the right knowledge.
Understanding the full timeline not only helps you stay on track but also improves your chances of a healthy, high-quality yield. In this guide, we’ll walk you through each stage of the cannabis growing cycle, with clear timelines and practical tips for beginners.
Overview of the Cannabis Growth Timeline
Before diving into each stage, it’s important to understand that the total growing time depends on the type of seeds you choose.
Autoflower plants typically take 8–12 weeks from seed to harvest, while photoperiod plants can take 3–5 months depending on how long you keep them in the vegetative stage.
Each plant goes through four main stages:
- Germination
- Seedling
- Vegetative
- Flowering
Let’s explore each stage in detail.
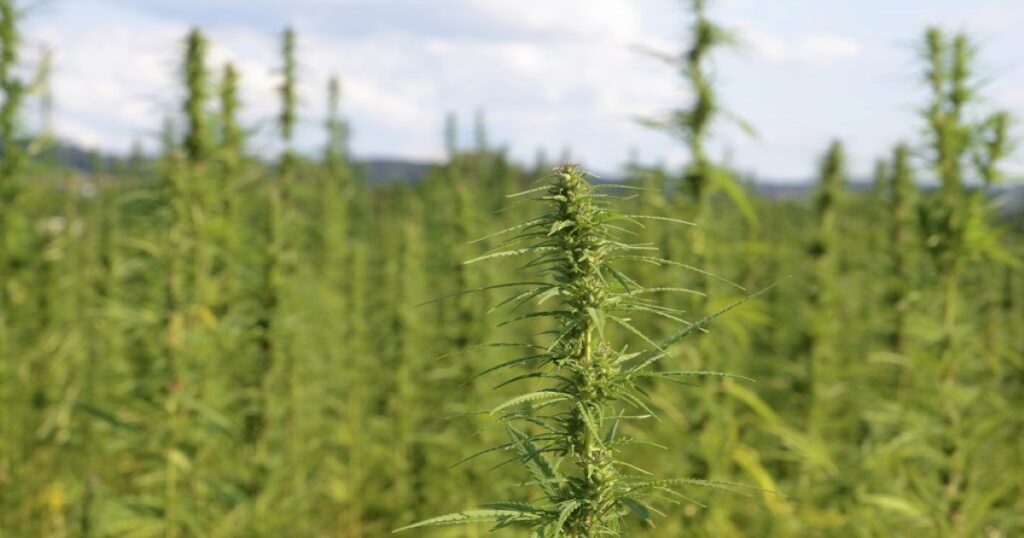
Stage 1: Germination (3–7 Days)
Germination is the starting point of your cannabis growing journey. This is when the seed sprouts and begins developing into a plant.
What Happens During Germination
The seed absorbs moisture, cracks open, and produces a small white root known as the taproot. Shortly after, the first leaves (cotyledons) appear.
Tips for Successful Germination
- Keep seeds in a warm, dark environment
- Maintain moisture but avoid overwatering
- Use methods like paper towel, water soaking, or starter plugs
Once the taproot emerges, the seed is ready to be planted in soil or your chosen growing medium.
Stage 2: Seedling Stage (1–2 Weeks)
After germination, your plant enters the seedling stage. This is a delicate phase where the young plant begins developing its first true leaves.
What to Expect
Seedlings are small, fragile, and highly sensitive to environmental changes. At this stage, they require:
- Gentle light (not too intense)
- Consistent moisture
- Stable temperature and humidity
Common Mistakes to Avoid
- Overwatering (a very common beginner mistake)
- Using strong nutrients too early
- Exposing seedlings to harsh light or wind
Healthy seedlings will develop 2–3 sets of leaves and begin growing steadily.
Stage 3: Vegetative Stage (2–8 Weeks)
The vegetative stage is when your plant focuses on growing bigger and stronger. This stage determines the future size and yield of your plant.
What Happens During This Stage
The plant develops:
- Strong stems
- Larger leaves
- A robust root system
The longer you keep your plant in this stage (for photoperiod strains), the bigger it will grow.
Light and Nutrient Requirements
- Provide 16–18 hours of light daily
- Use nitrogen-rich nutrients
- Ensure proper airflow and spacing
Beginner Tips
- Start basic training techniques like low-stress training (LST)
- Monitor plant health regularly
- Avoid overcrowding plants
Autoflower plants move through this stage quickly, while photoperiod plants give you more control over its duration.
Stage 4: Flowering Stage (6–10 Weeks)
The flowering stage is where your plant begins producing buds. This is the most exciting phase for growers.
How Flowering Begins
For photoperiod plants, flowering starts when light cycles change to 12 hours of light and 12 hours of darkness.
Autoflower plants begin flowering automatically without any change in light.
What to Expect
- Buds start forming at nodes
- Plants may double in height (stretch phase)
- Strong aromas develop
Nutrient and Care Tips
- Switch to phosphorus and potassium-rich nutrients
- Reduce humidity to prevent mold
- Avoid light leaks during dark periods (for photoperiod plants)
Monitoring Progress
As flowering progresses, buds become denser and coated with trichomes (resin crystals). This is a sign your plant is approaching harvest.
Stage 5: Harvesting (Final Week)
Harvesting at the right time is crucial for potency, flavor, and overall quality.
How to Know When to Harvest
Look for these signs:
- Trichomes turn milky white with some amber
- Pistils (hair-like structures) darken and curl
- Buds feel dense and sticky
Harvesting too early or too late can affect the final product significantly.
Stage 6: Drying and Curing (2–4 Weeks)
Many beginners underestimate this stage, but drying and curing are essential for achieving the best results.
Drying Process
- Hang trimmed buds upside down
- Keep the room cool, dark, and well-ventilated
- Maintain humidity around 45–55%
Drying usually takes 7–14 days.
Curing Process
After drying, buds are placed in airtight jars and opened daily for airflow.
Curing improves:
- Flavor
- Aroma
- Smoothness
- Potency
This process can take 2–4 weeks or longer for optimal results.
Total Timeline Summary
Here’s a quick breakdown of the entire process:
- Germination: 3–7 days
- Seedling: 1–2 weeks
- Vegetative: 2–8 weeks
- Flowering: 6–10 weeks
- Drying & Curing: 2–4 weeks
Total time:
- Autoflower: ~8–12 weeks (plus curing)
- Photoperiod: ~3–5 months (plus curing)
Common Beginner Mistakes
Understanding what not to do is just as important as knowing what to do.
Overwatering
Too much water can suffocate roots and stunt growth.
Poor Lighting
Insufficient or excessive light can damage plants or slow growth.
Ignoring pH Levels
Incorrect pH can prevent nutrient absorption.
Harvesting Too Early
Patience is key—rushing the harvest reduces quality and potency.
Tips for a Successful First Grow
Starting your first cannabis grow doesn’t have to be complicated. Focus on the basics:
- Choose beginner-friendly seeds (autoflowers are a great option)
- Keep your setup simple and controlled
- Monitor plants daily for changes
- Learn gradually and avoid overcomplicating the process
Consistency and observation are your best tools as a beginner grower.
Read Also : How to Identify Quality Cannabis Seeds Before Planting
Final Thoughts
Growing cannabis from seed to harvest is a rewarding journey that teaches patience, care, and attention to detail. While the process may seem complex at first, breaking it down into stages makes it much easier to manage.
By following this beginner-friendly timeline, you can confidently navigate each phase and improve your chances of a successful harvest. Whether you’re growing for personal use or simply exploring a new hobby, the experience is both educational and satisfying.
With the right approach and a bit of practice, your first grow can set the foundation for many successful harvests in the future.